Aesthetic Photography
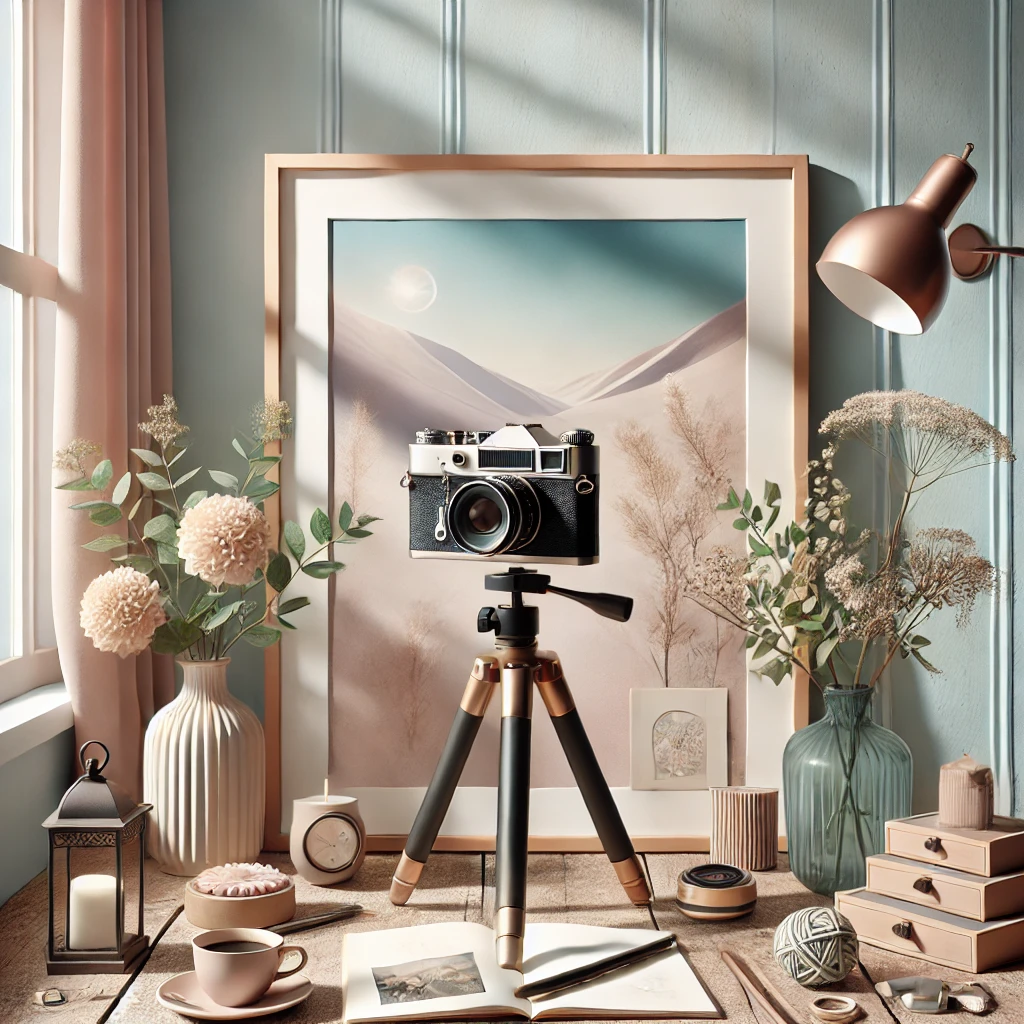
Aesthetic photography has become a popular trend, especially on platforms like Instagram and Pinterest, where visual presentation is key. This style focuses on creating harmonious and visually appealing images that convey a specific feeling—whether tranquility, nostalgia, minimalism, or vibrancy. Achieving the perfect aesthetic photo requires attention to several key elements that go beyond simply capturing an image. Below are the essential components to consider for creating truly standout aesthetic photographs.
Key Elements for Perfect Aesthetic Photography

- Composition and Framing in Aesthetic Photography
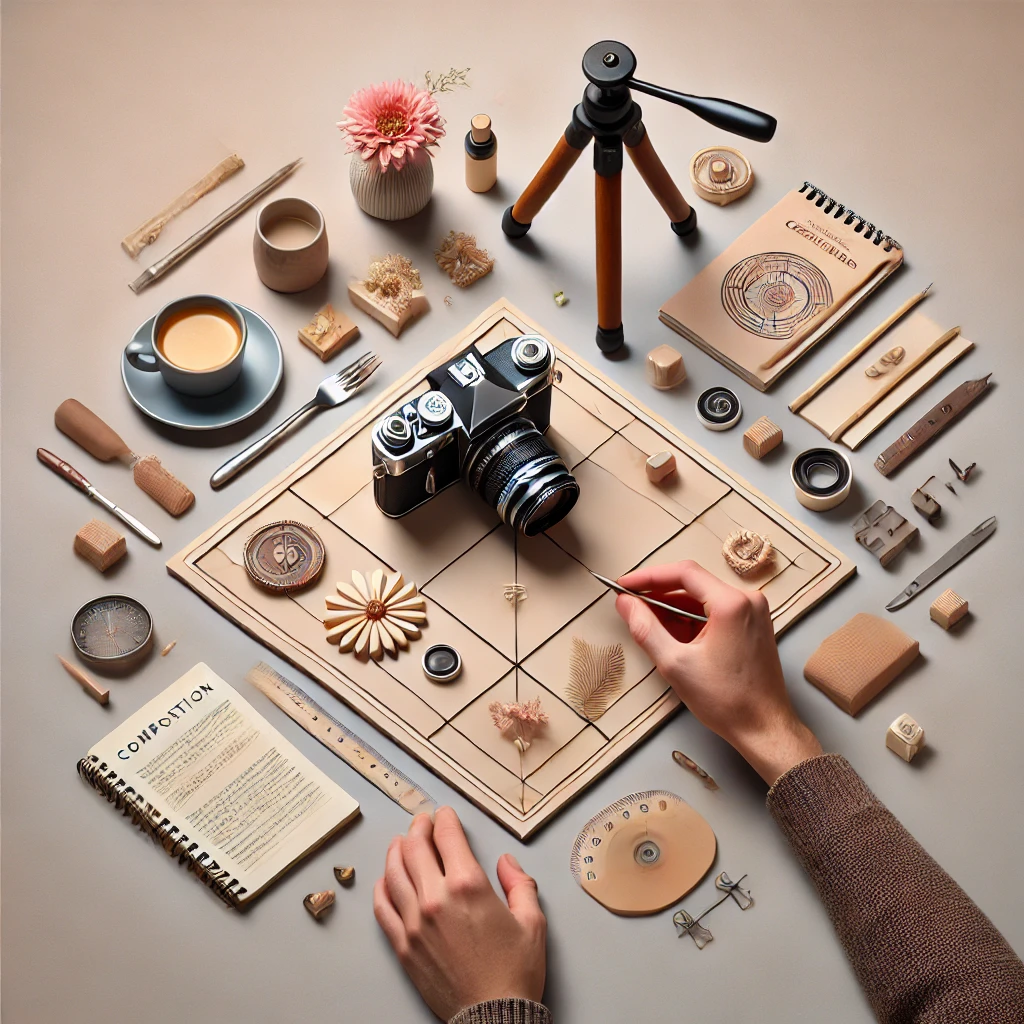
Composition is one of the most important aspects of aesthetic photography. This style heavily relies on the balanced and harmonious arrangement of elements within the frame. One commonly used technique is the rule of thirds, which involves dividing the image into a three-by-three grid and placing points of interest at the intersections of these lines. This creates a visually pleasing and well-balanced image.
Another common technique in aesthetic photography is the use of symmetry and leading lines. Symmetry brings a sense of order and balance, while leading lines guide the viewer’s eye to the focal point of the image. Negative space is also crucial in this type of photography, as it allows the main elements to stand out and “breathe,” preventing the image from looking cluttered.
The choice of angle can also influence the image’s aesthetic. Low, high, or overhead angles can add dynamism to the composition, while straight-on angles often convey stability and order.
- Lighting in Aesthetic Photography
Lighting is another fundamental pillar in aesthetic photography. Soft, natural light is generally preferred, as it creates delicate shadows and highlights that add depth and dimension to the image. The “golden hour,” occurring just after sunrise or before sunset, is ideal for capturing warm, diffused lighting.
Additionally, indirect or diffused lighting—such as shooting through sheer curtains or using reflectors—is excellent for avoiding harsh shadows and creating a gentle, immersive atmosphere. If working indoors, make the most of natural light streaming through windows and, if necessary, supplement with soft artificial lighting to mimic natural effects.
The direction of light is also crucial. Side lighting can emphasize textures and create a three-dimensional effect, while backlighting or silhouettes can add drama and visual intrigue, highly valued in aesthetic photography.
Small details, such as the trace of a leaf on a table or the gentle ripple of a fabric, can add character and authenticity to the image, reinforcing the aesthetic atmosphere you aim to create.
In summary, a perfect aesthetic photograph results from careful planning and attention to detail. By combining balanced composition, appropriate lighting, a harmonious color palette, and thoughtful styling, you can create images that are not only visually captivating but also convey the essence and emotion that define this style.
- Colors and Color Palette in Aesthetic Photography
Colors play an essential role in aesthetic photography. The choice of a color palette should align with the mood and emotion you want to convey. Pastel tones, neutral shades, and monochromatic combinations are frequently used to create a soft, cohesive look. These colors evoke a sense of calm and serenity, typical of the aesthetic style.
If you prefer a more vibrant aesthetic, you can opt for more saturated colors, but always maintain balance to avoid overwhelming the image. It’s crucial that the colors in the photo complement each other rather than compete for attention, which could disrupt the visual harmony.
Using contrast between colors can also be effective for highlighting specific elements in the image but should be done carefully to avoid detracting from the overall tone of the aesthetic photograph.
- Details and Styling in Aesthetic Photography
Details and styling are the finishing touches that can transform an ordinary image into a perfect aesthetic photograph. This includes choosing decorative elements, arranging objects thoughtfully, and considering the textures and patterns present in the scene.
Styling in aesthetic photography often focuses on minimalism and natural elements. Avoid excessive decorations and opt for simple, well-selected objects that add aesthetic value without overloading the composition. Textures like wood, linen, or matte surfaces can add another layer of visual interest, while subtle patterns can guide the viewer’s eye without distracting.
How to Choose the Perfect Setting for Your Aesthetic Photography?
Aesthetic photography is a style characterized by its attention to detail, focus on visual harmony, and ability to evoke emotions through carefully composed images. One of the most important aspects of achieving successful aesthetic photography is selecting the right setting. The environment where the photo session takes place can significantly influence the tone, atmosphere, and visual impact of the image. Here are some key tips to help you choose the ideal setting for your photos and capture the essence of the aesthetic style.

1. Define the Aesthetic Style You Want to Achieve
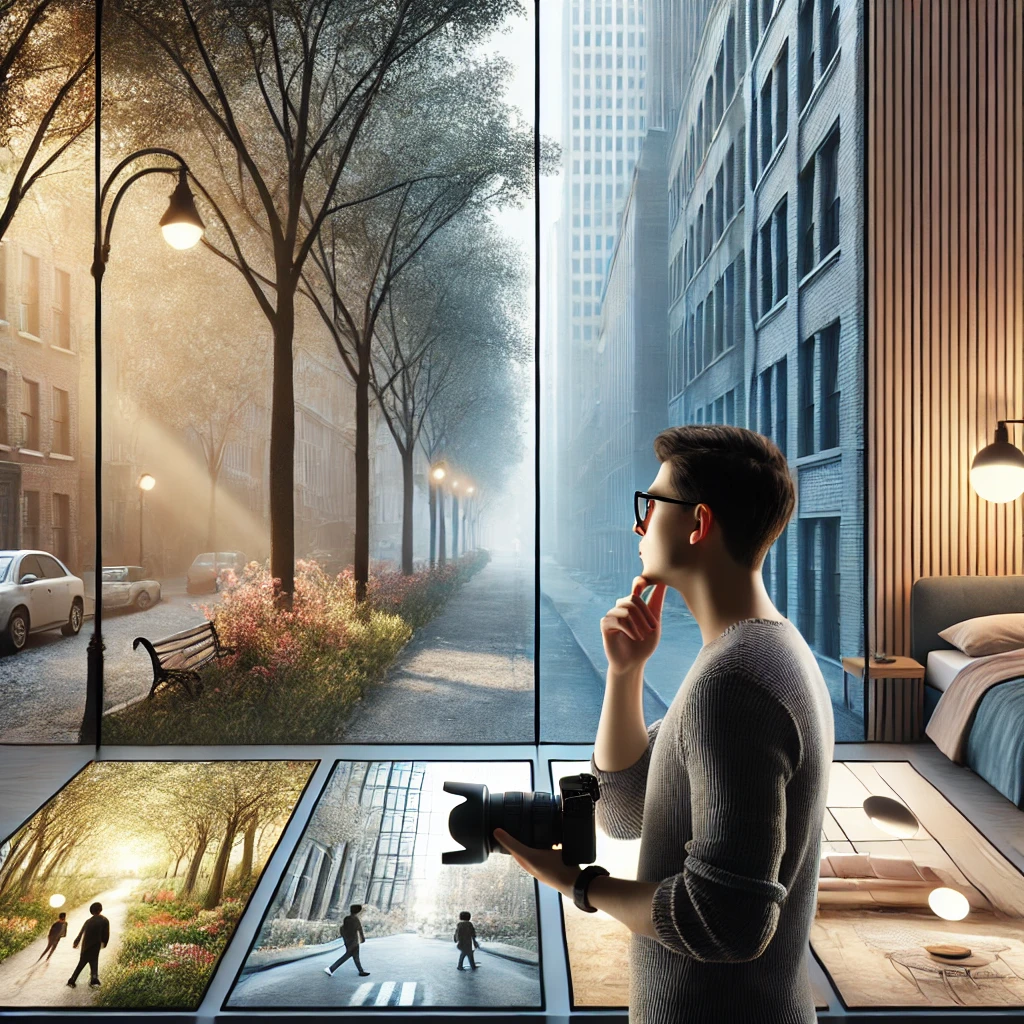
The first step in choosing the right setting for your aesthetic photography is defining the specific style you want to achieve. The term “aesthetic” encompasses a wide range of styles, from minimalist and natural to vintage and urban. Each of these approaches has its own characteristics and requires a different type of setting.
If you’re aiming for a minimalist style, opt for simple, clean settings, such as interiors with white walls, straight-lined furniture, and subtle details. For a more natural style, consider outdoor settings like parks, forests, or gardens, where natural light and greenery can create a calm and relaxing atmosphere. If you prefer an urban or industrial approach, look for buildings with interesting architecture, graffiti-adorned streets, or abandoned warehouses with unique textures and details.
Defining the style will guide your search for the perfect setting that aligns with the aesthetic you want to capture in your photography.
2. Consider the Natural Lighting of the Setting
Lighting is a crucial factor in aesthetic photography, and the setting you choose must offer the right light for the style of image you’re aiming to create. Natural light is ideal for this type of photography as it creates soft shadows and enhances colors in a more organic way.
When selecting a setting, think about how light interacts with the environment. Does the location have large windows that let in plenty of light? Are there shaded areas that can add depth and contrast to your photos? If you’re working outdoors, consider the position of the sun at different times of the day. The “golden hour,” just after sunrise or before sunset, provides warm and soft lighting perfect for creating a magical aesthetic feel.
Indoors, look for spaces with indirect natural light, such as that coming through sheer curtains, to avoid harsh shadows and unwanted reflections.
3. Choose a Setting That Resonates with the Emotion and Theme
The ideal setting for aesthetic photography should not only be visually appealing but also resonate with the emotion and theme you want to convey. For example, if you’re creating a series of photos that evoke nostalgia, a setting with vintage elements, such as antique furniture, classic patterned textiles, or a muted color palette, could be the perfect choice.
On the other hand, if your aesthetic photography aims to convey modernity and freshness, a setting with clean lines, vibrant colors, and contemporary elements will be more suitable. The choice of setting should complement the message you want to communicate through your images.
4. Pay Attention to the Details of the Setting
In aesthetic photography, details are everything. When selecting a setting, pay close attention to the small elements that can influence the composition of your image. Look at the background: ensure there are no distractions or elements that don’t align with the aesthetic style you’re aiming for.
Also, consider the textures and patterns present in the setting. Natural textures like wood, stone, or linen can add an extra layer of visual interest to your photos. Patterns, as long as they’re subtle, can guide the viewer’s eye and add dynamism to the composition.
Finally, remember that simplicity is key in aesthetic photography. Often, less is more, and a clean, well-chosen setting can make the main elements of your photo stand out more effectively.
5. Experiment and Adapt the Setting
Don’t be afraid to experiment with different settings to find the one that best fits your vision. Sometimes, a location that didn’t seem ideal at first glance can become the perfect setting with some adjustments to lighting, perspective, or the arrangement of elements.
Adapt the setting to your needs: move furniture, add or remove objects, and play with the composition until you achieve the desired aesthetic. Remember, aesthetic photography is an art form, and every detail matters in creating a harmonious and evocative image.
Choosing the ideal setting for your aesthetic photography is a process that requires planning, observation, and creativity. By following these tips, you’ll be well on your way to capturing images that are not only visually striking but also reflect the essence and emotion that define this style.
Composition Tips for Creating Aesthetic Photography
Aesthetic photography stands out for its ability to transform ordinary scenes into visually appealing and emotionally resonant images. The key to achieving this type of photography lies in composition: how elements are arranged within the frame to create a balanced, harmonious, and captivating image. Here are some composition tricks to help you create the perfect aesthetic photograph.

1. The Rule of Thirds in Aesthetic Photography
One of the most basic and effective composition principles in aesthetic photography is the rule of thirds. This technique involves dividing the image into a three-by-three grid, with two horizontal and two vertical lines intersecting at four points. The idea is to place key elements of the image, such as the main subject or points of interest, along these lines or at the intersections.
The rule of thirds helps create a natural balance in the image, avoiding an awkwardly centered subject. For example, in a portrait, the subject’s eyes can align with one of the horizontal lines, while in a landscape, the horizon can be placed along one of the horizontal lines instead of in the center. This technique is especially useful in aesthetic photography, where the goal is to create a visually pleasing and harmonious image.
2. Using Negative Space in Aesthetic Photography
Negative space, or the empty area around the main subject, is a powerful element in aesthetic photography. This space allows the subject to “breathe” within the frame and emphasizes its importance by giving it more prominence in the composition.
Effectively using negative space can make an image feel more minimalist and focused, which is characteristic of the aesthetic style. For example, a photo of a coffee cup on a clean, uncluttered table with ample space around it can convey a sense of serenity and simplicity.
Negative space can also guide the viewer’s eye toward the focal point of the image, ensuring attention is drawn to the most important elements without unnecessary distractions.
3. Symmetry and Patterns in Aesthetic Photography
Symmetry is another highly valued composition trick in aesthetic photography. Symmetry creates a sense of order and balance that is visually appealing and calming to the viewer. You can find symmetry in nature, architecture, and even the arrangement of everyday objects.
For example, an image of a building with a symmetrical facade or a path lined with perfectly aligned trees can have a strong visual impact. Symmetry works particularly well in aesthetic photography because it reinforces the idea of harmony and balance, fundamental elements of this style.
In addition to symmetry, repetitive patterns can also add visual interest to an image. Patterns may be natural, such as ripples in the sand, or artificial, like tiles on a floor. Capturing and highlighting these patterns can create an image that is both captivating and soothing.
4. Angles and Perspectives in Aesthetic Photography
Experimenting with different angles and perspectives can transform an ordinary image into a striking aesthetic photograph. Don’t be afraid to move away from traditional eye-level perspectives and try shooting from low, high, or tilted angles.
A low angle, for instance, can make a subject appear more imposing or majestic, while a high angle can provide a unique, fresh view of a familiar scene. Including reflections in puddles, mirrors, or polished surfaces can also add an element of interest and depth to the image.
Perspective not only changes how a subject looks but also influences how the viewer feels about the image. In aesthetic photography, where emotion and atmosphere are as important as visual appeal, playing with perspective is a valuable tool for creating evocative images.
5. Colors and Contrasts in Aesthetic Photography
Finally, colors and contrasts play a crucial role in the composition of aesthetic photography. Choosing a harmonious color palette can help unify the elements in the image, while using contrasts can highlight specific aspects of the frame.
Pastel tones, muted colors, and monochromatic combinations are popular in aesthetic photography for their ability to create a soft, cohesive atmosphere. However, contrasting complementary colors, like blue and orange, can be used to add a vibrant touch to the image without breaking the overall aesthetic.
By applying these composition tricks in your aesthetic photography, you can create images that are not only visually appealing but also convey a sense of harmony, balance, and emotion—hallmarks of this photographic style.
Editing: The Final Touch for Stunning Aesthetic Photography
Editing is an essential part of the creative process in aesthetic photography. While capturing the image is crucial, editing allows you to refine and enhance the details that make a photo truly impactful. From color correction to retouching and adding special effects, editing is the final touch that transforms a good photo into a visual masterpiece. Here are some key tips and techniques to take your aesthetic photo editing to the next level.

1. Color Correction and Chromatic Consistency
Color is one of the most important elements in aesthetic photography. Color correction is the first step in editing, involving adjustments to the tones in the image to align with the desired aesthetic. Start by adjusting the white balance to ensure colors are accurate and not influenced by improper lighting.
After correcting the white balance, consider tweaking saturation and hue to achieve your desired effect. In aesthetic photography, it’s common to slightly desaturate colors for a softer, nostalgic look or enhance specific tones to make them pop and add a touch of energy.
Maintaining chromatic consistency is crucial, especially when editing a series of photos meant to be displayed together. Ensure all images share a similar color palette to create a cohesive flow and reinforce the aesthetic you’re aiming for.
2. Adjusting Exposure and Contrast
Exposure and contrast also play a key role in editing aesthetic photography. Balanced exposure is often preferred, where no areas are too dark or overly bright. Adjusting exposure and contrast allows you to highlight important details while preserving the subtlety of shadows and highlights.
Contrast in aesthetic photography tends to be softer, avoiding overly harsh contrasts that might appear jarring. You can decrease contrast for a more ethereal, soft atmosphere or slightly increase it to define textures and details without losing the image’s delicacy.
Additionally, fine-tuning shadows and highlights enables you to control how light is distributed across the image, creating a visual balance that enhances the harmony of the composition.
3. Retouching and Details in Aesthetic Photography
Retouching is a delicate but essential aspect of editing in aesthetic photography. It involves removing or softening imperfections that could distract from the main subject, such as blemishes, skin imperfections, or unwanted elements in the background.
Tools like the clone stamp or healing brush in editing programs like Adobe Photoshop are ideal for precise retouching. However, subtlety is key to retaining the image’s natural feel and avoiding an over-edited appearance.
Beyond retouching, small enhancements can reinforce the image’s aesthetic. For instance, you might soften the skin in a portrait to give it a dreamy quality or slightly enhance the eyes to draw the viewer’s attention. These minor adjustments can make a significant difference in the quality and visual impact of aesthetic photography.
4. Applying Filters and Special Effects
Filters and special effects are the finishing touches in editing aesthetic photography. Preset filters can help you apply a cohesive style to all your images, ensuring they share the same mood and tone. Many filters are specifically designed for the aesthetic style, incorporating color, light, and texture adjustments to enhance the image’s softness and beauty.
In addition to filters, experiment with special effects like vignetting, which darkens the edges of the image to draw focus to the center. Another popular aesthetic effect is background blur, which adds depth and emphasizes the main subject.
However, it’s important not to overuse effects. The goal is to enhance the image without overwhelming it. The hallmark of aesthetic photography is subtlety and balance, so each effect should be added thoughtfully to preserve the image’s natural beauty and integrity.
5. Exporting and Preparing for Publication
The final step in editing an aesthetic photograph is exporting the image. Ensure you export the photo at the appropriate resolution for its intended use, whether for social media, print, or web publication. Maintain high quality so the image retains all the details you refined during editing.
In summary, editing is the final but crucial step in creating impactful aesthetic photography. From color correction to applying special effects, each stage of editing enhances the beauty and harmony of the image, transforming it into a visual masterpiece that reflects the essence of the aesthetic style.
Click here for more information
